I’ve always loved abstract art, particularly those with gorgeous vibrant colors. Growing up, my parents had a few really beautiful paintings that covered blank walls, and they created the kind of ambience I wanted for my own home one day.
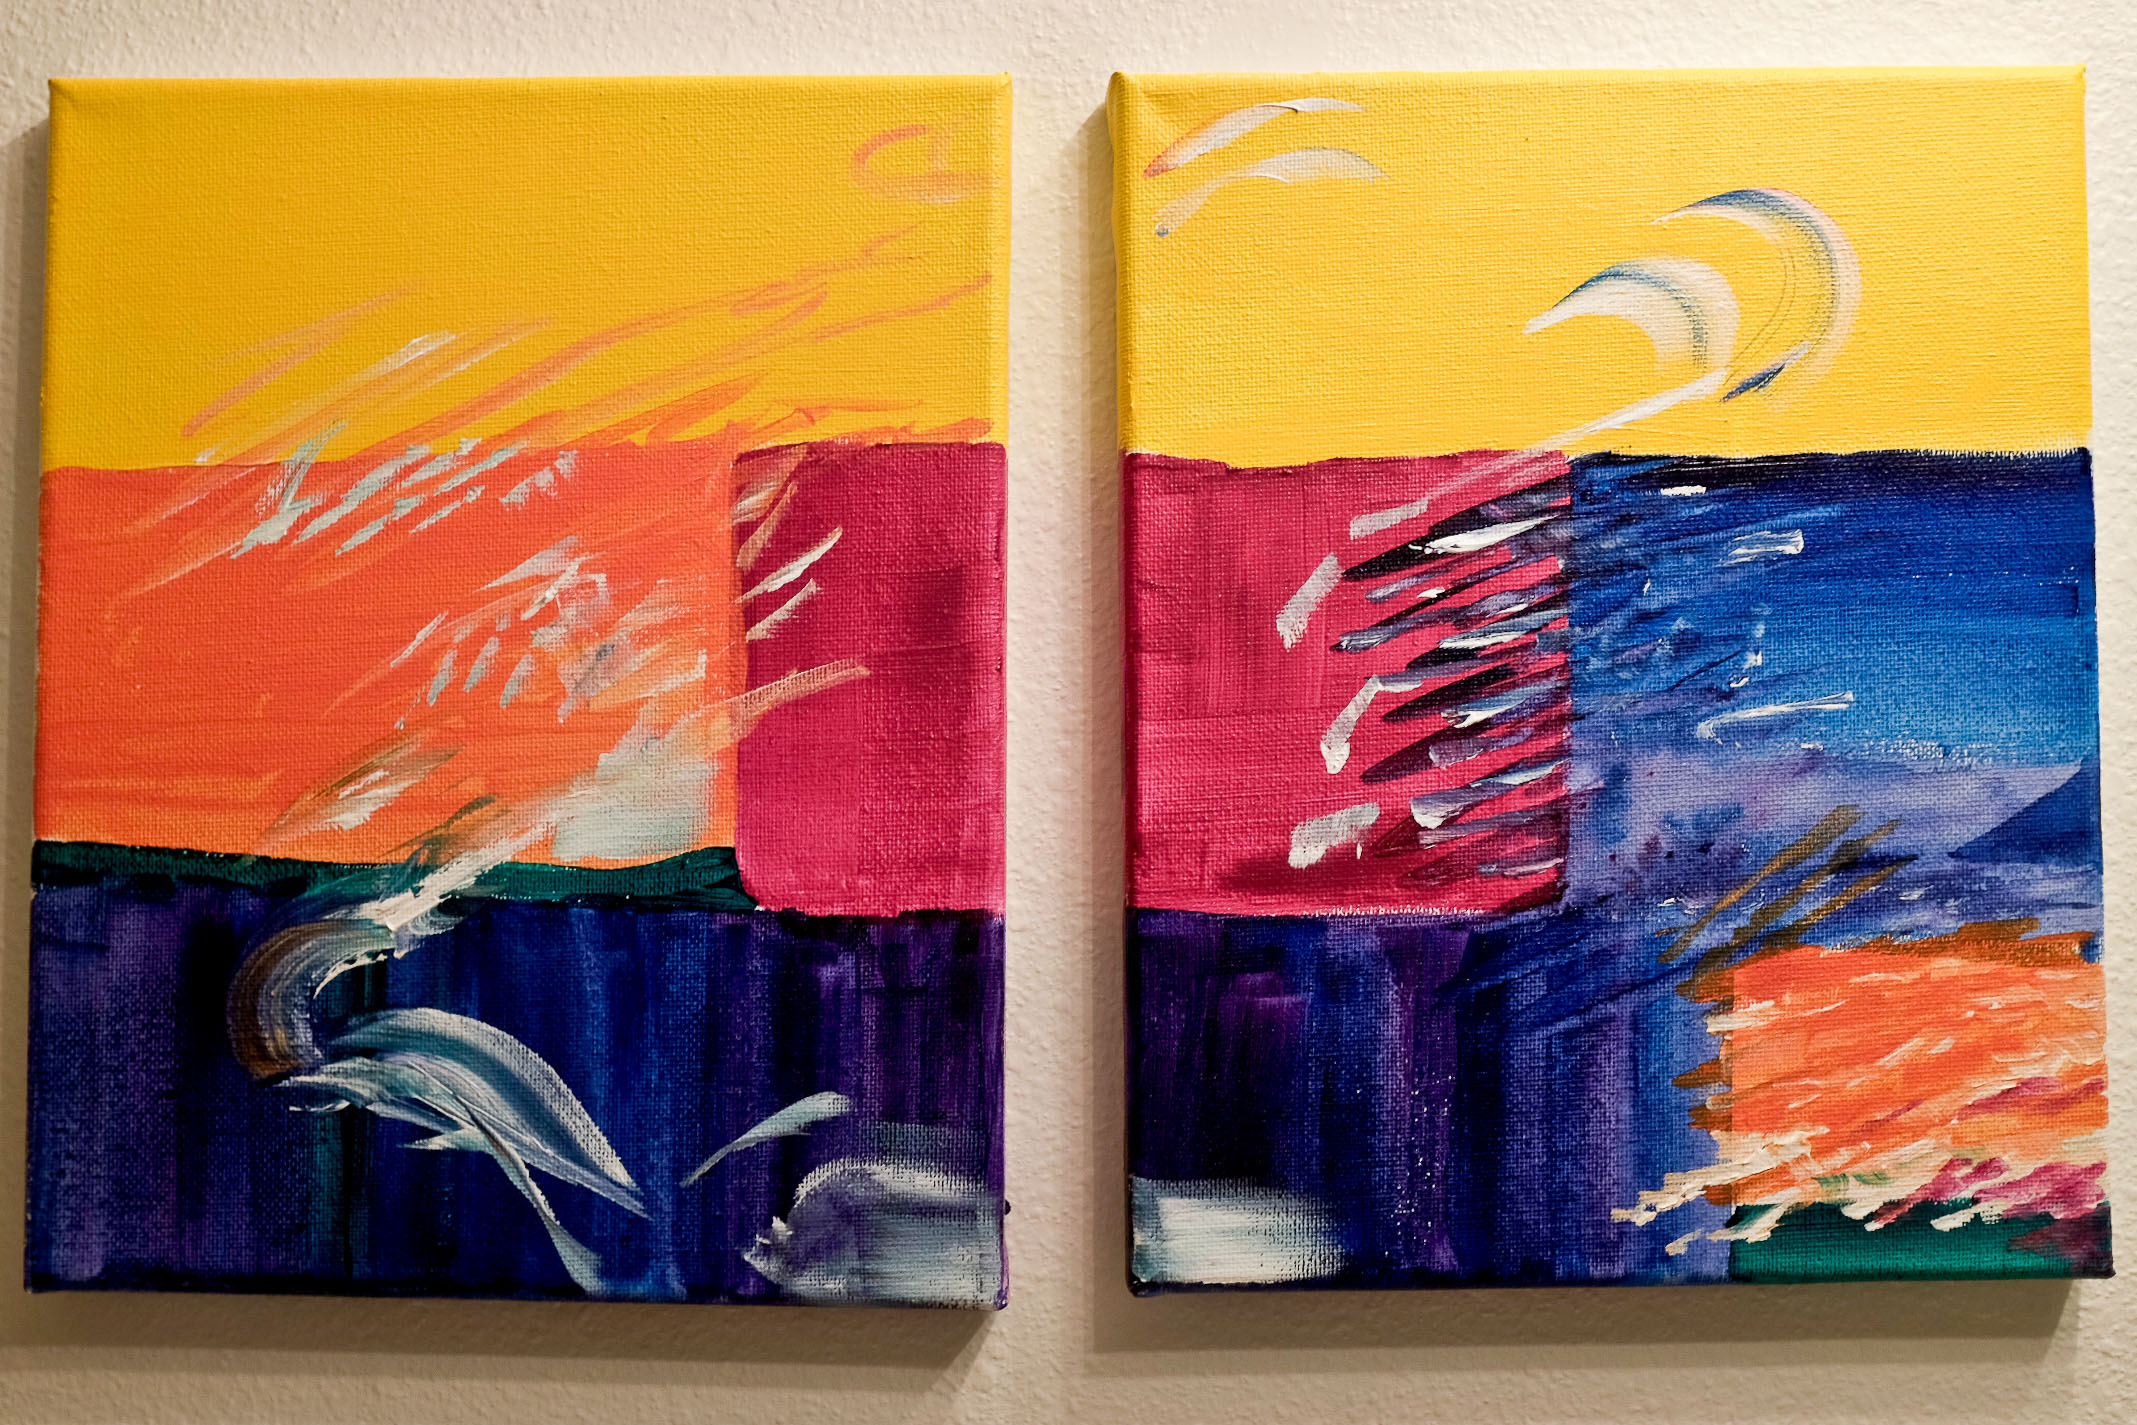
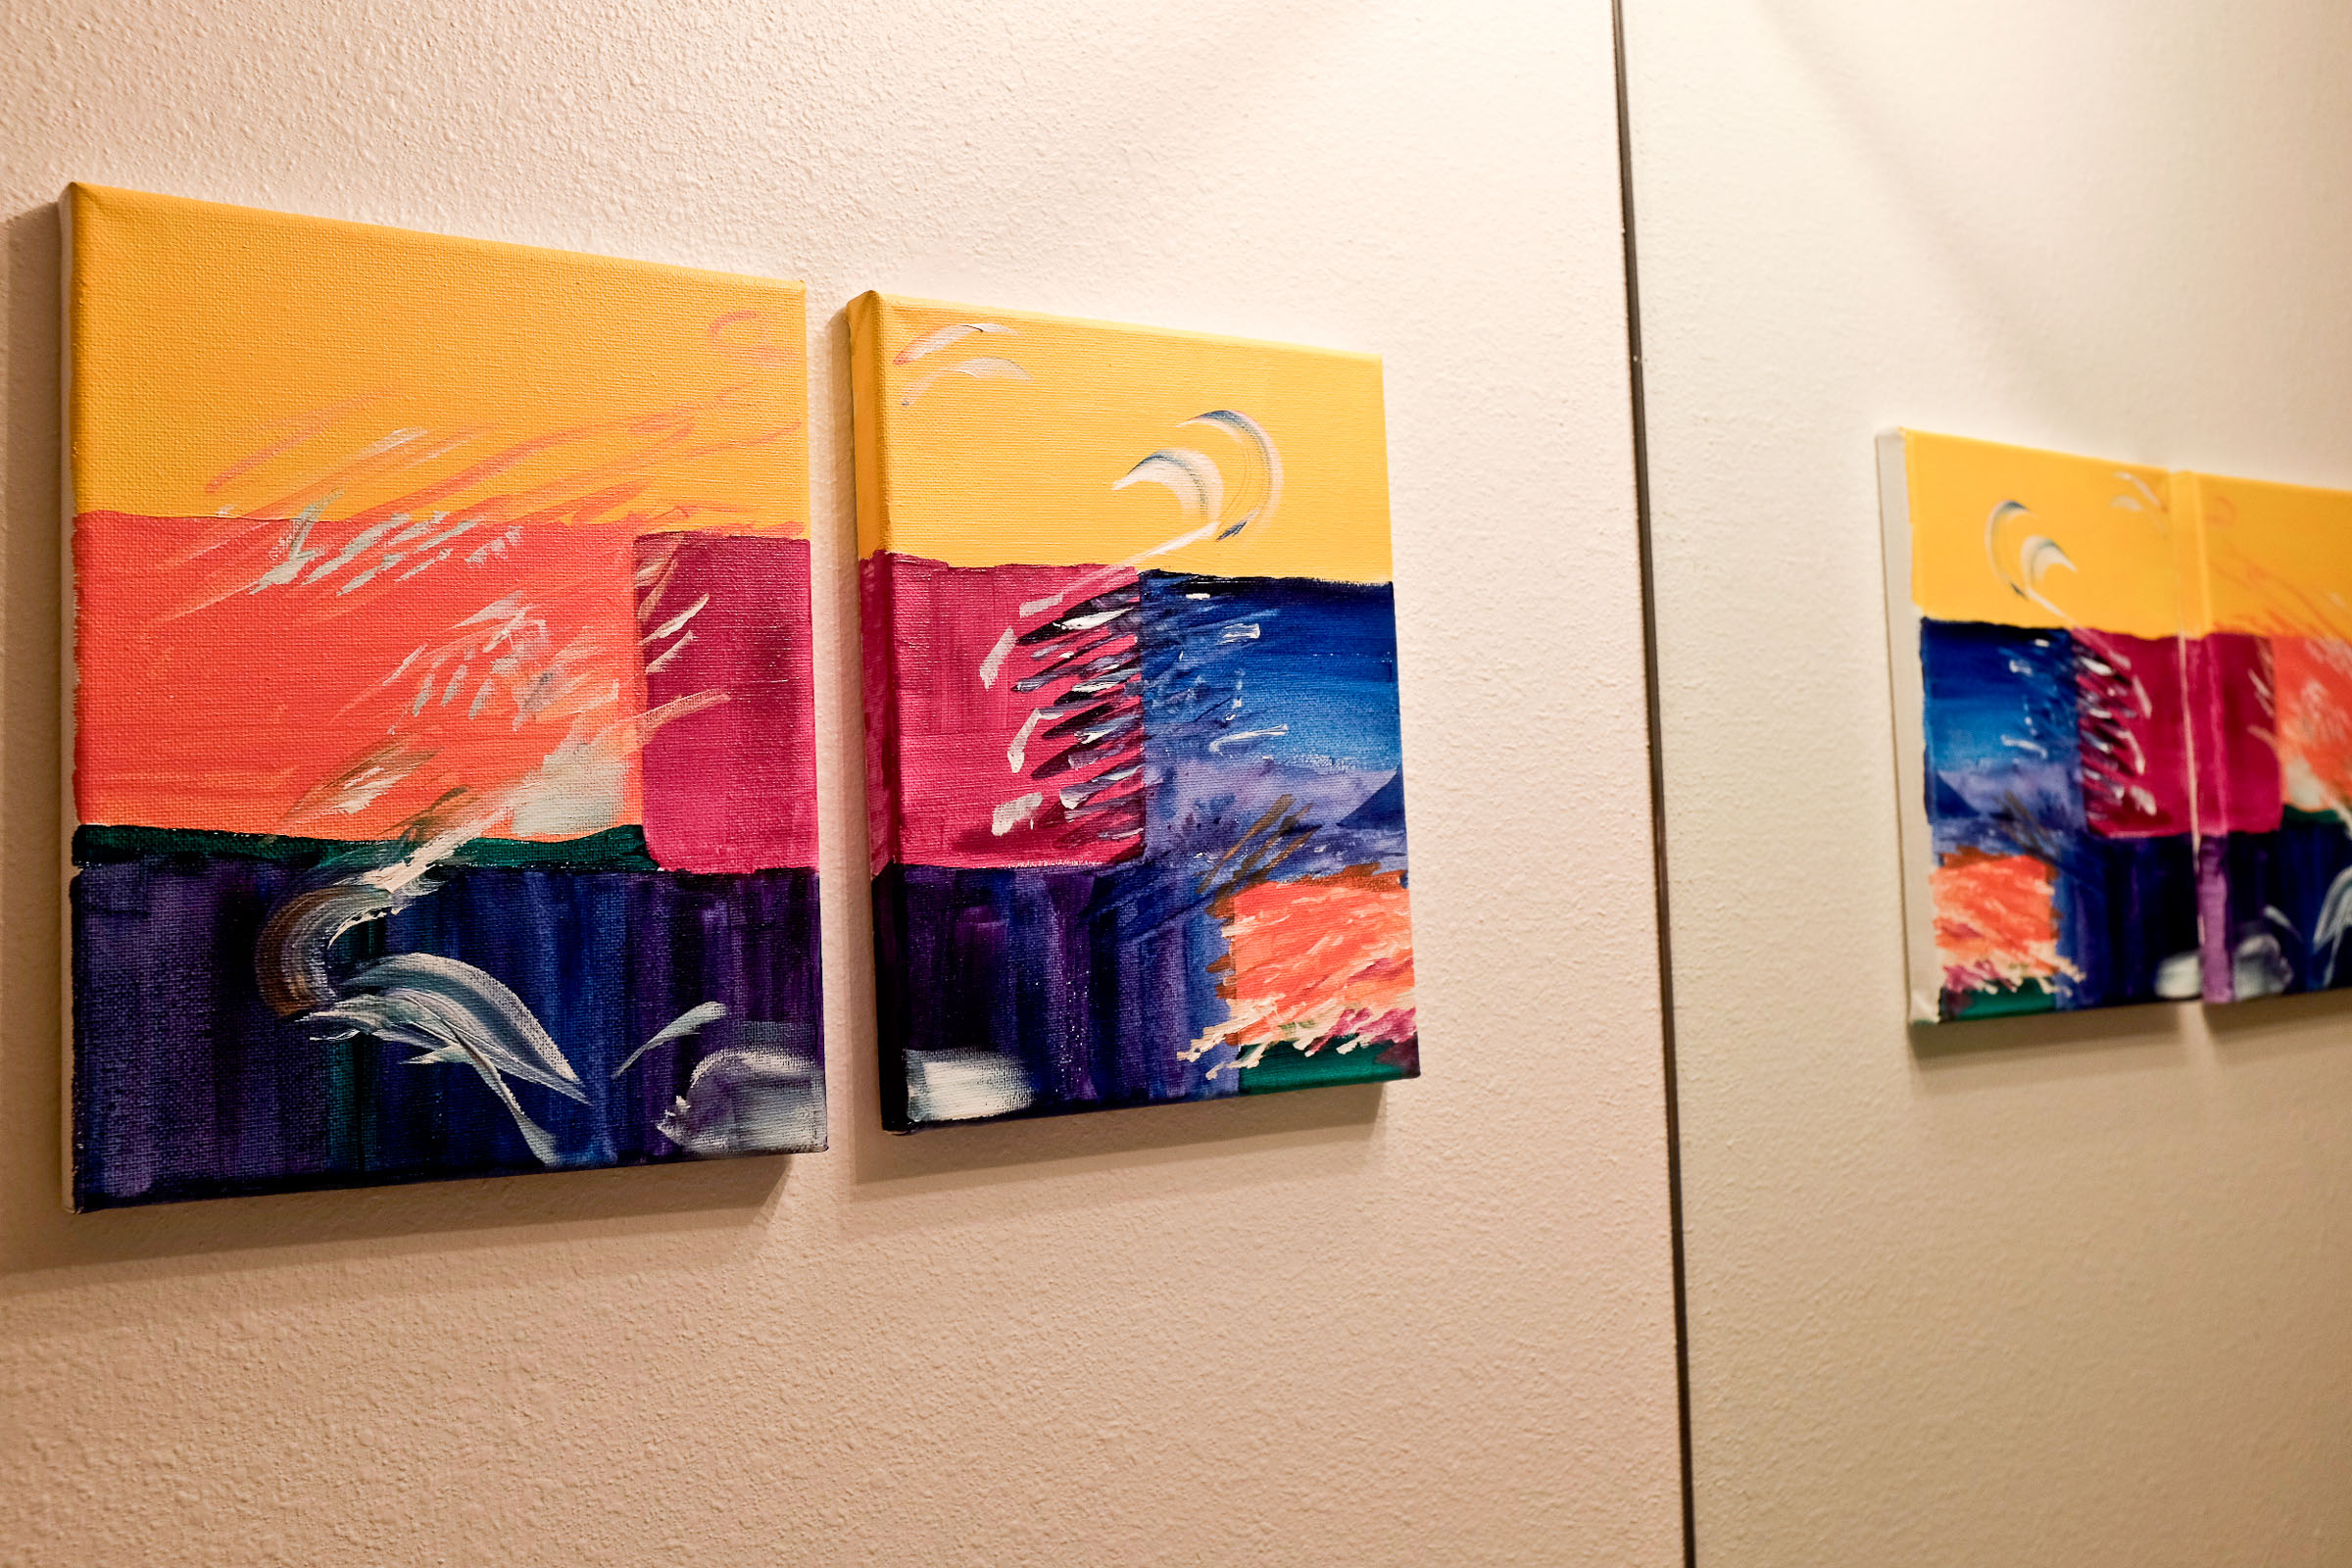
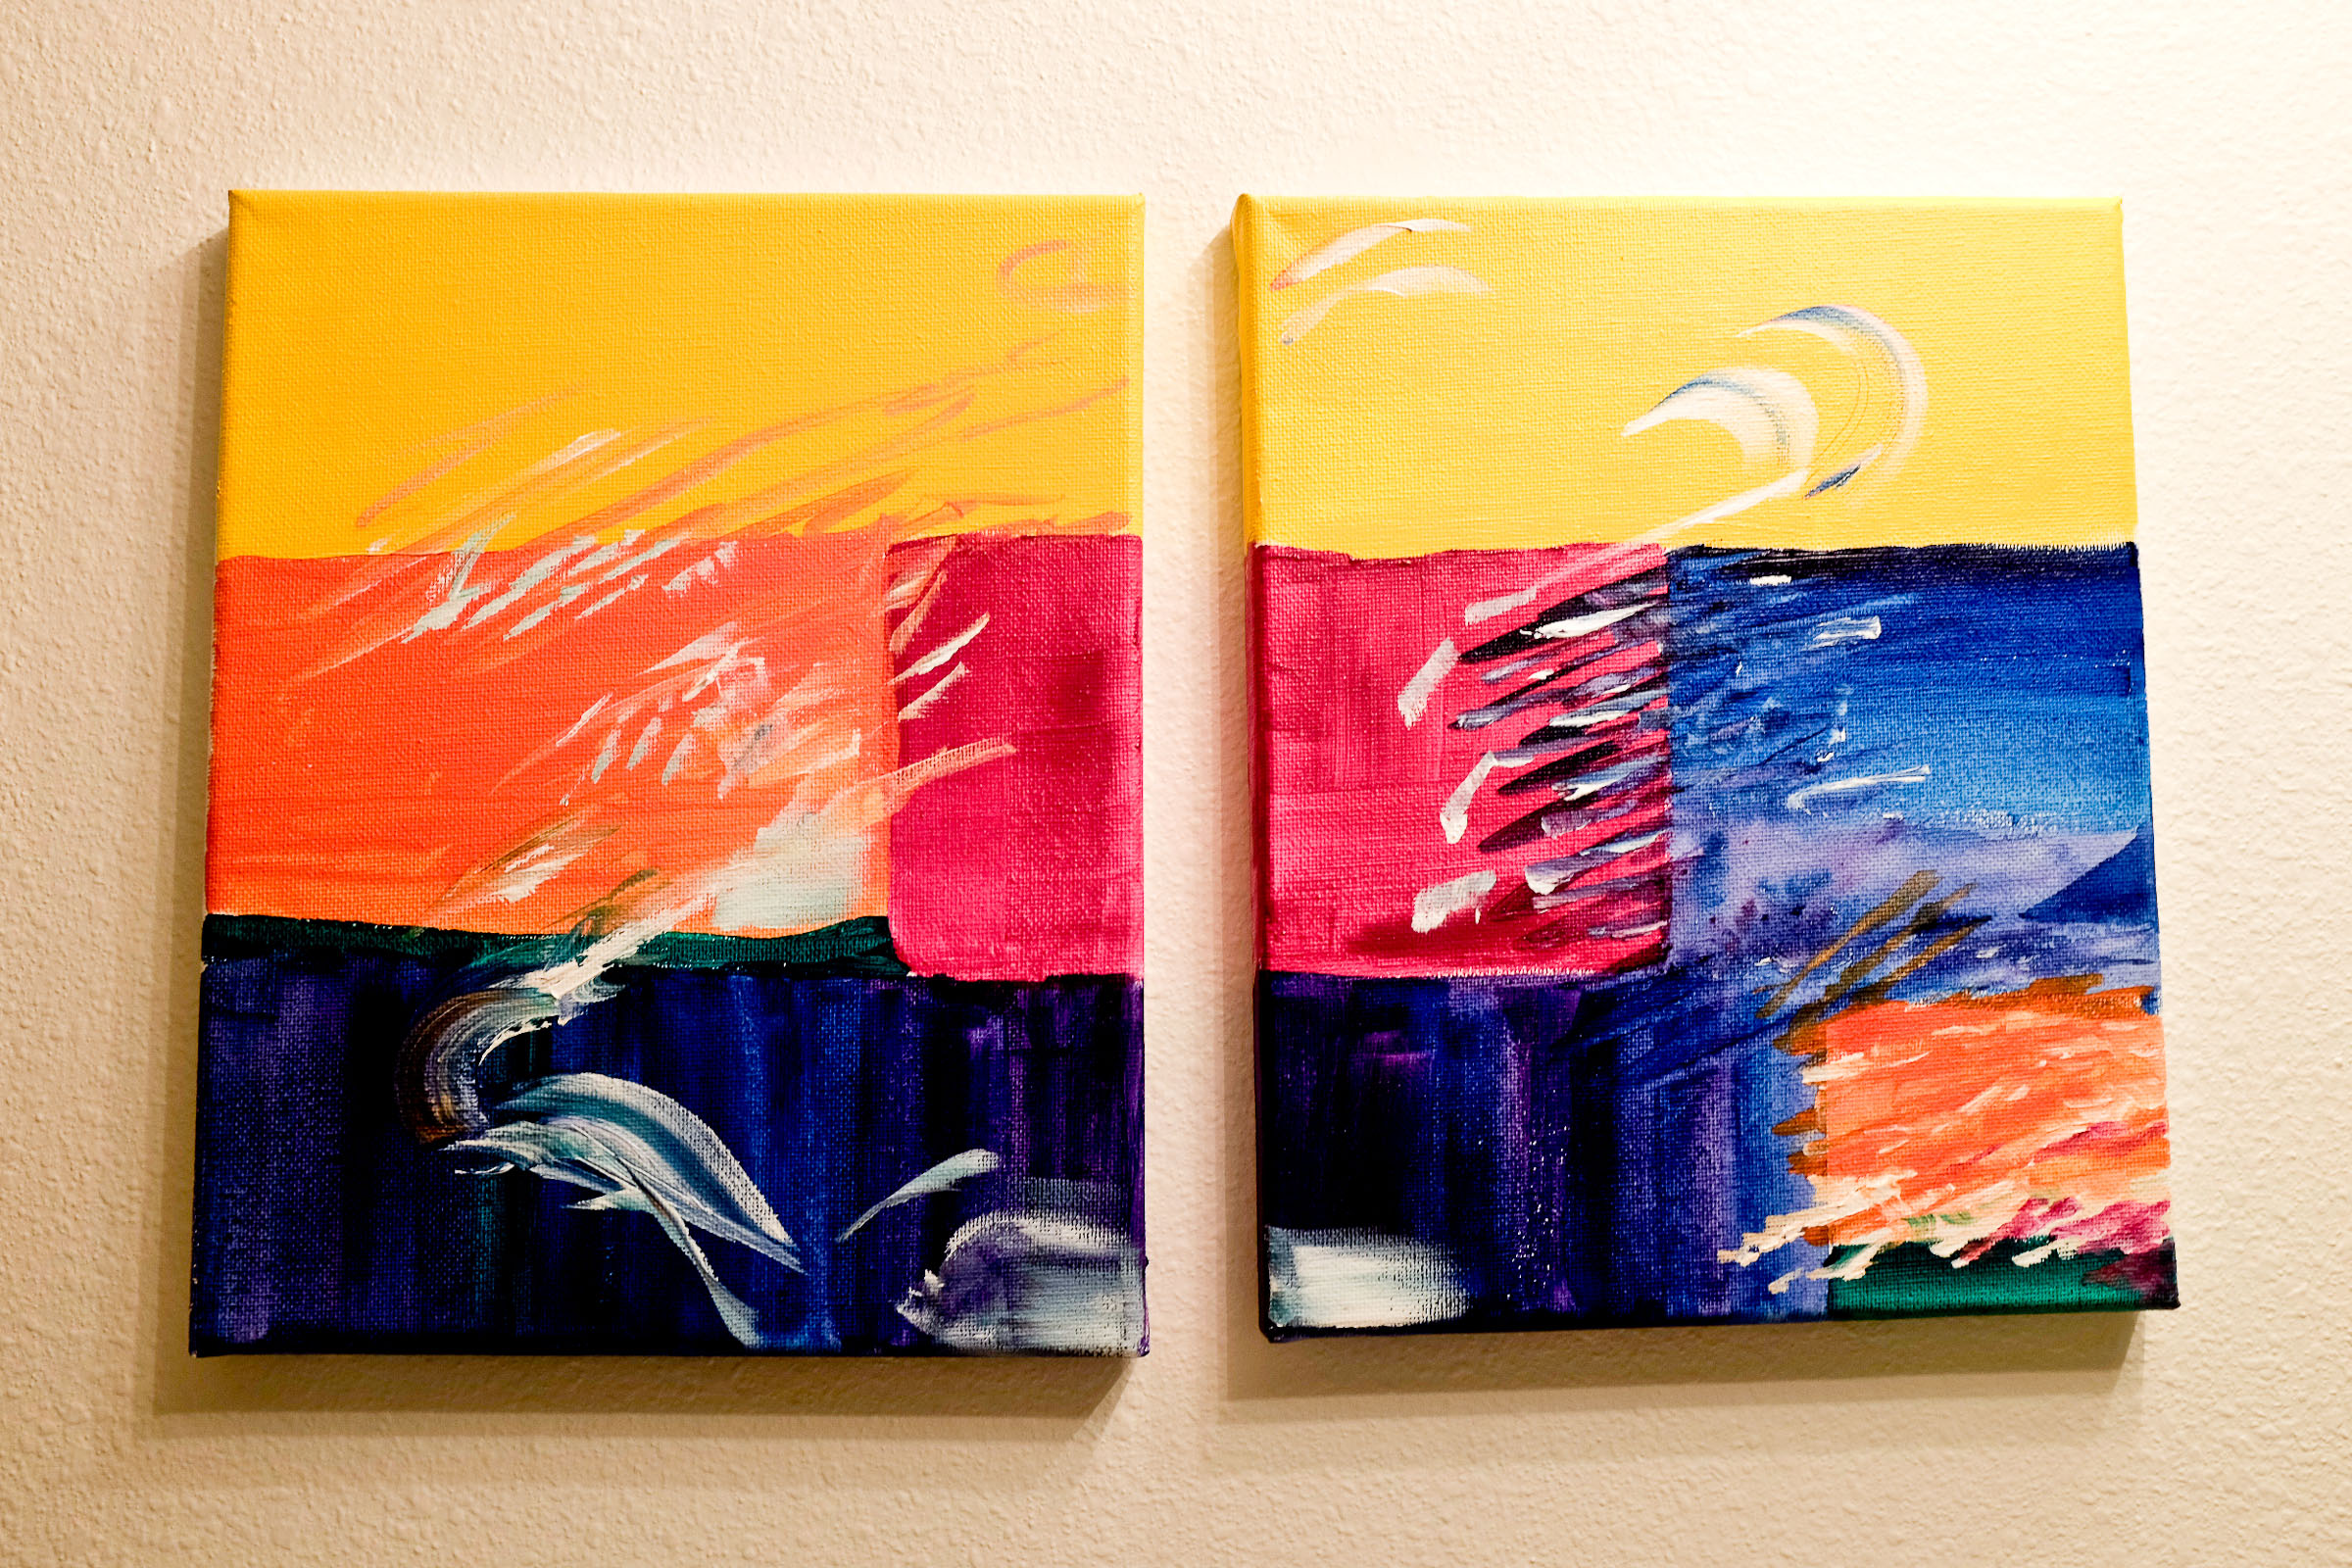
Though we can’t exactly be art patrons right now, we can be artists! Making your own abstract wall art is quite easy and totally therapeutic. The following instructions are flexible because this is not a painting class; it’s a fun project that you should personalize to your own tastes. If you’ve not painted on a canvas before, you’ve got to try it! I love using two small canvases to portray something that continues from one to the other.
Easy DIY Abstract Wall Art
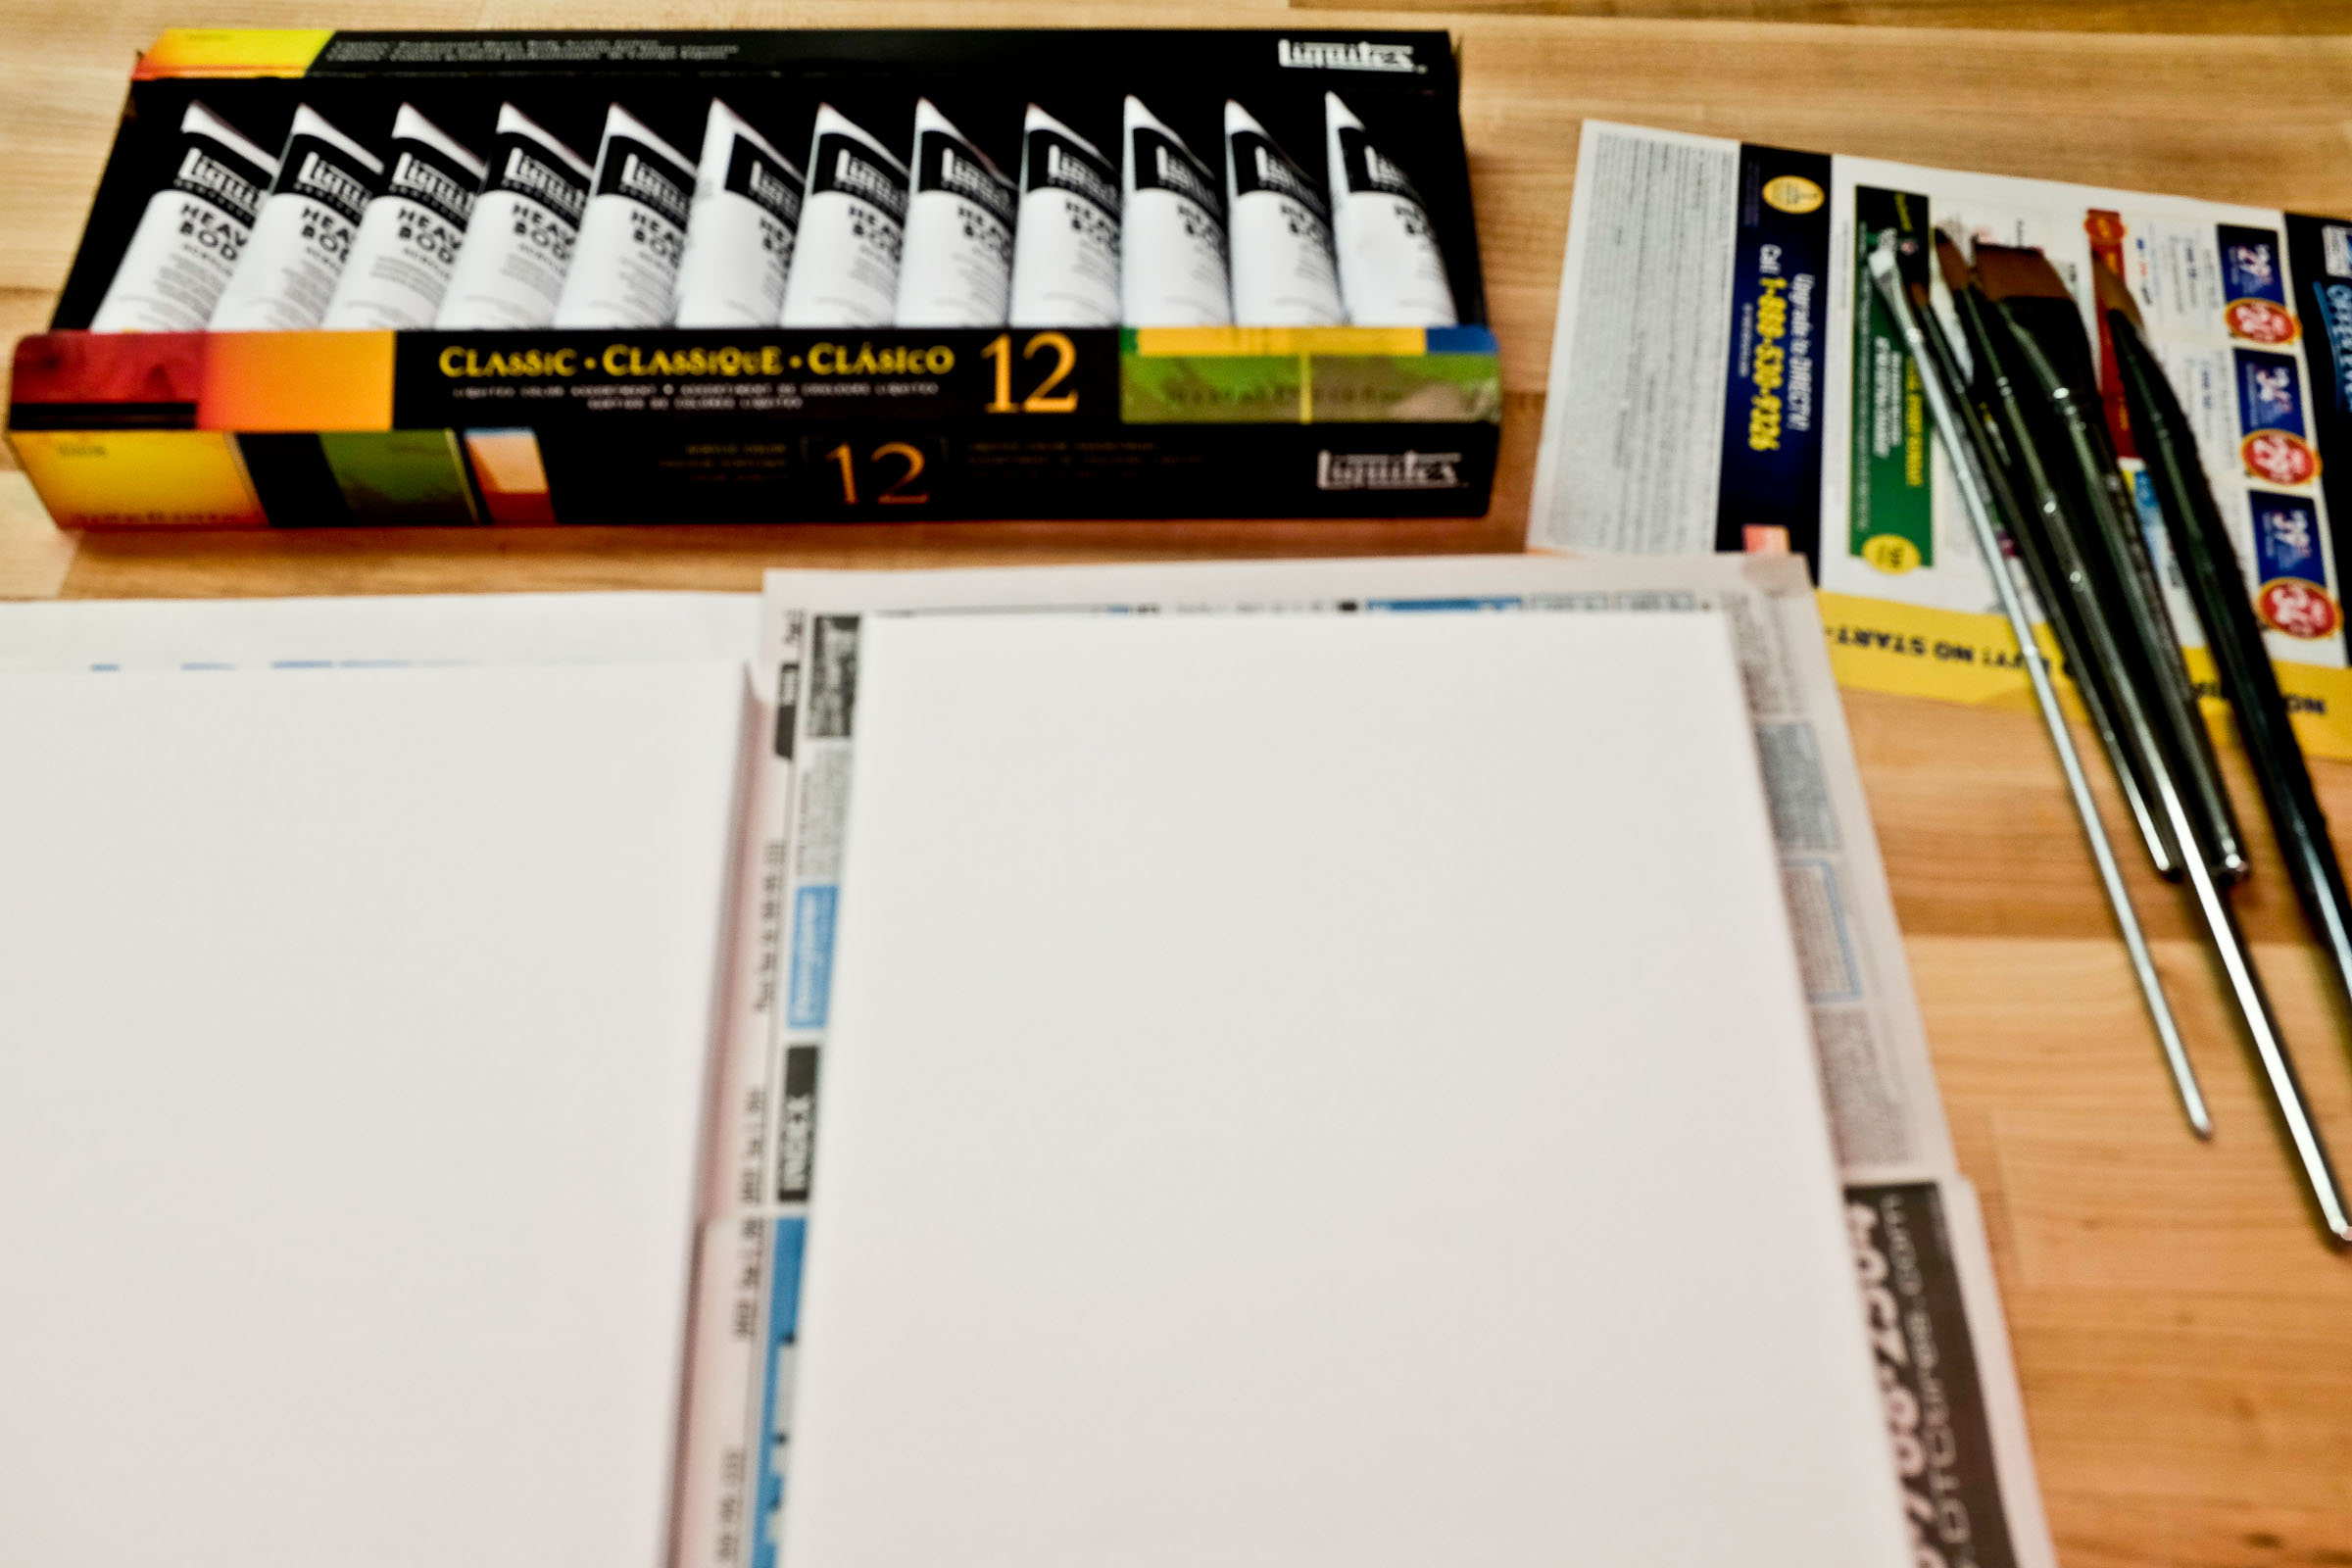
What you need (available at Michael’s):
- 2 canvases of equal size, 8×10.
- Set of acrylic paints– acrylic dries faster than oil and is more opaque than watercolor.
- Paint brushes– large, medium, and small.
- Plate or painter’s palette.
- Cup of water for washing brushes.
- Newspaper to protect the table.
Suggestions:
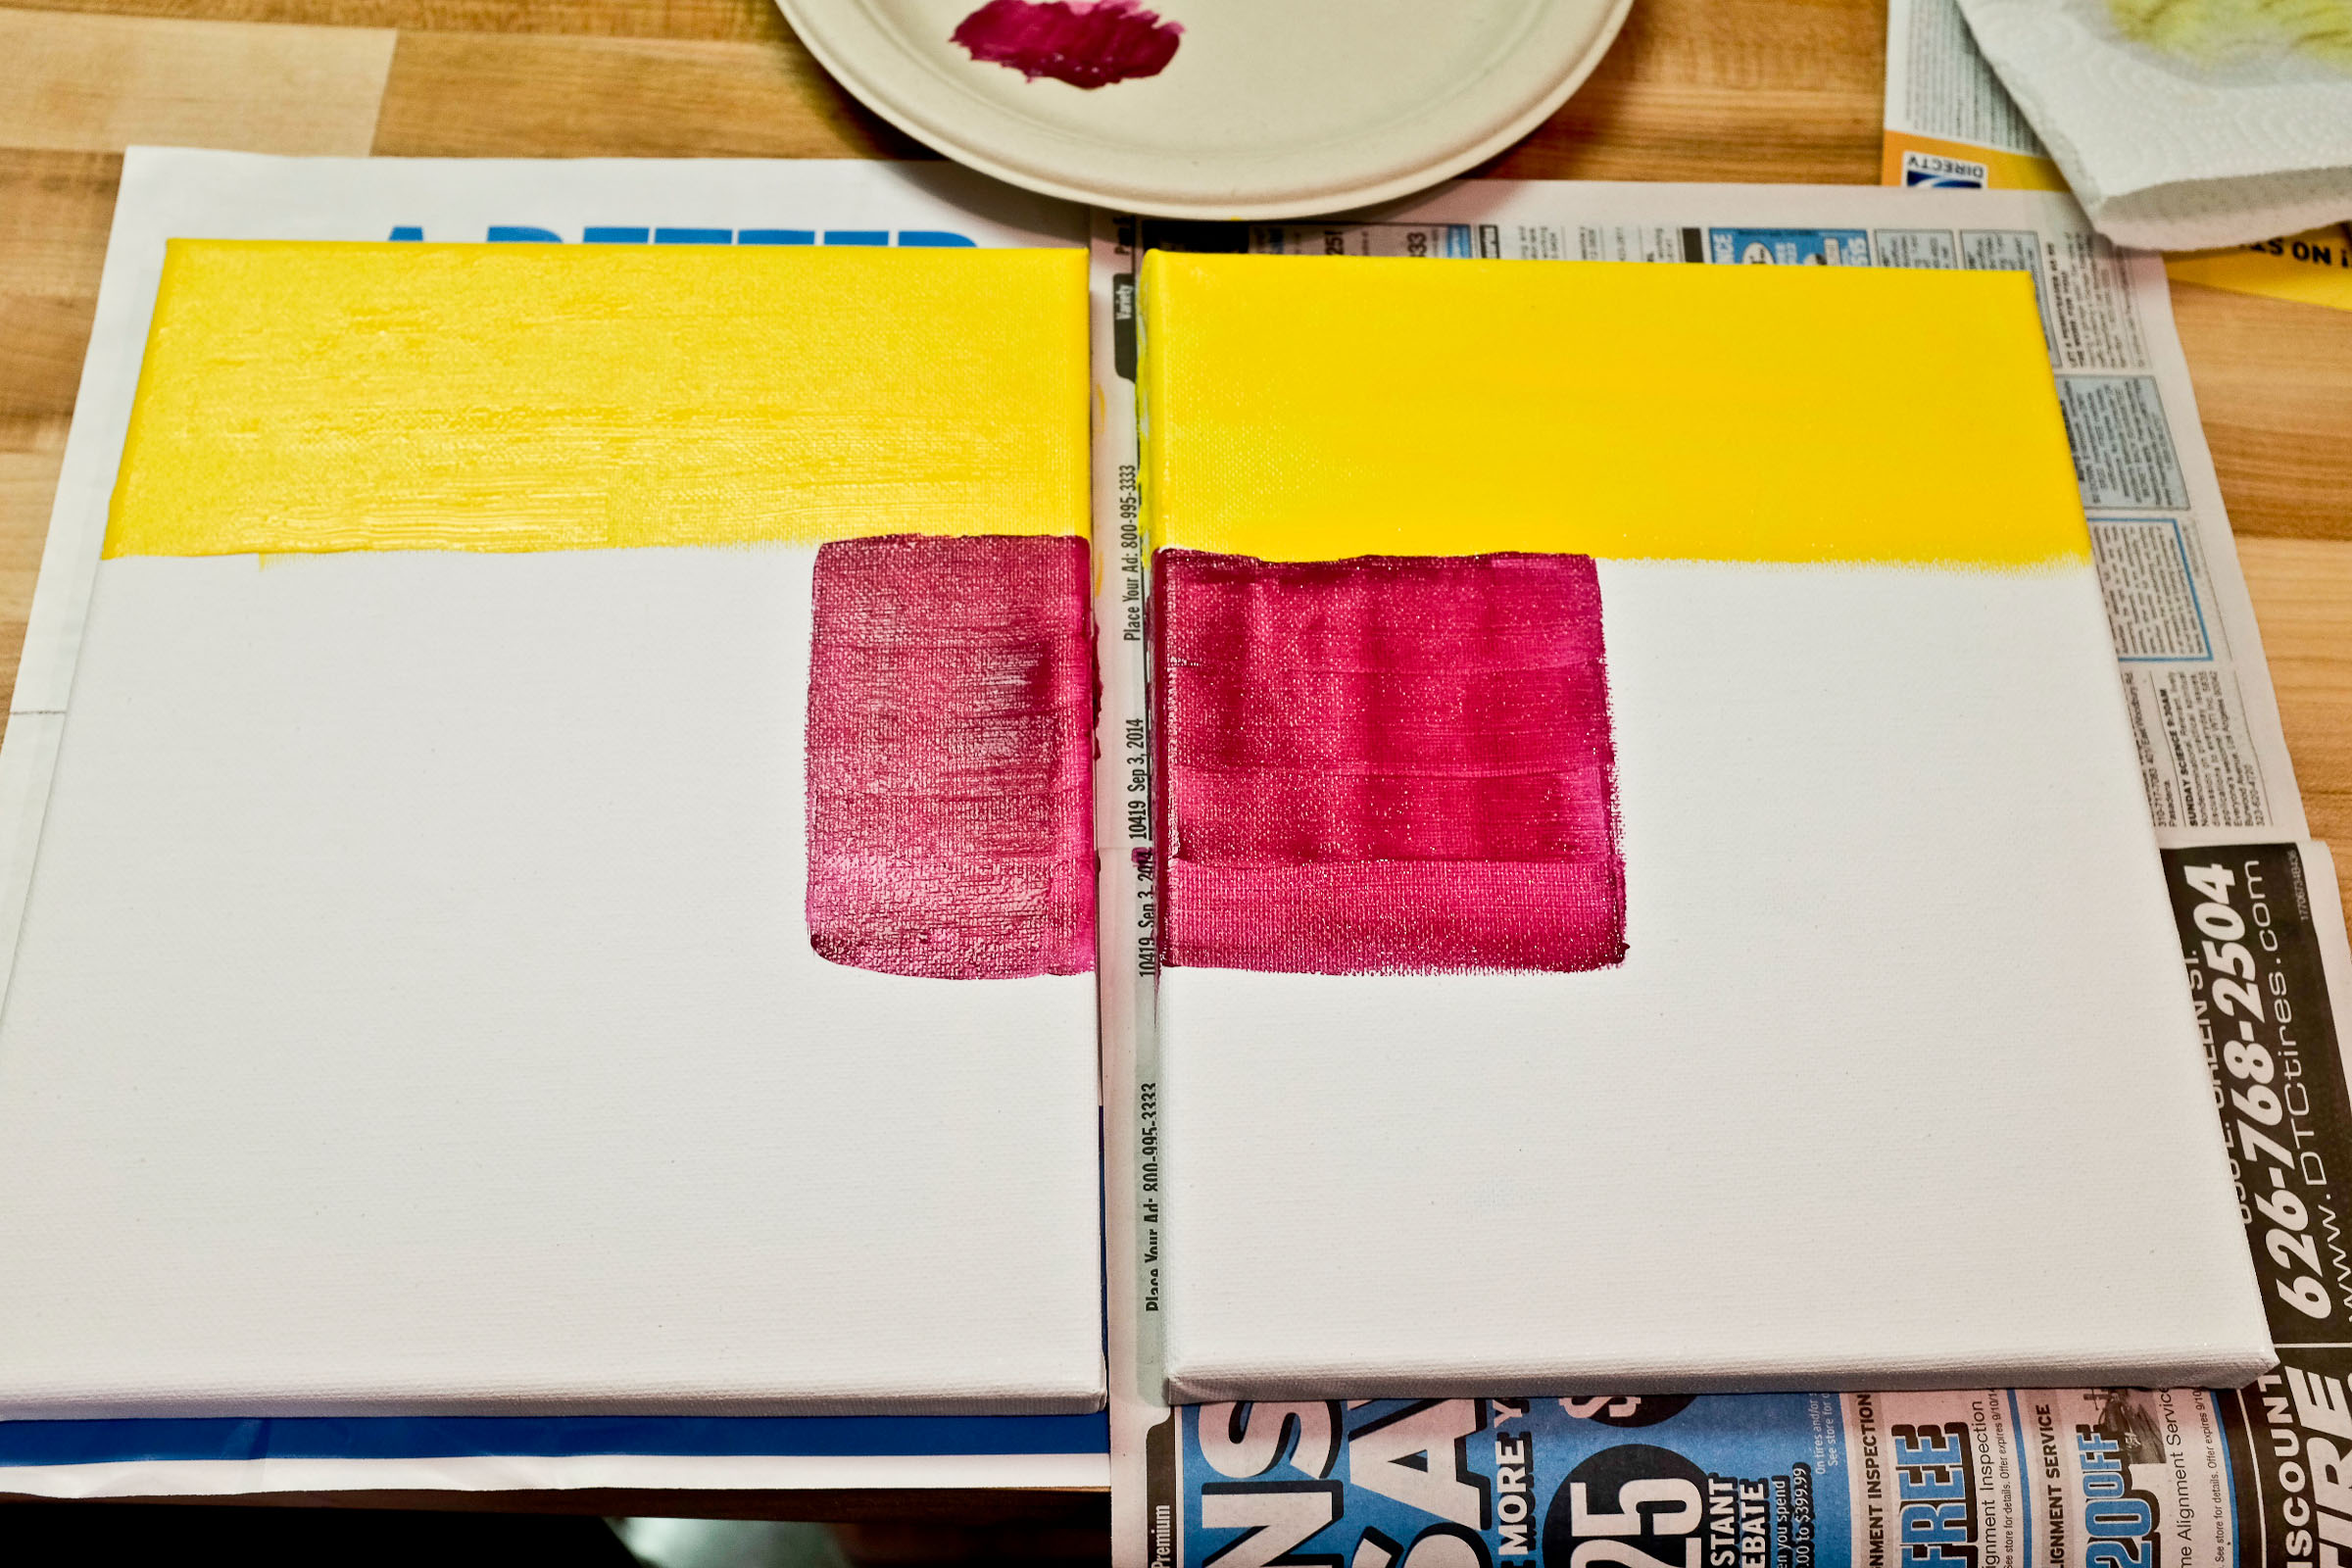
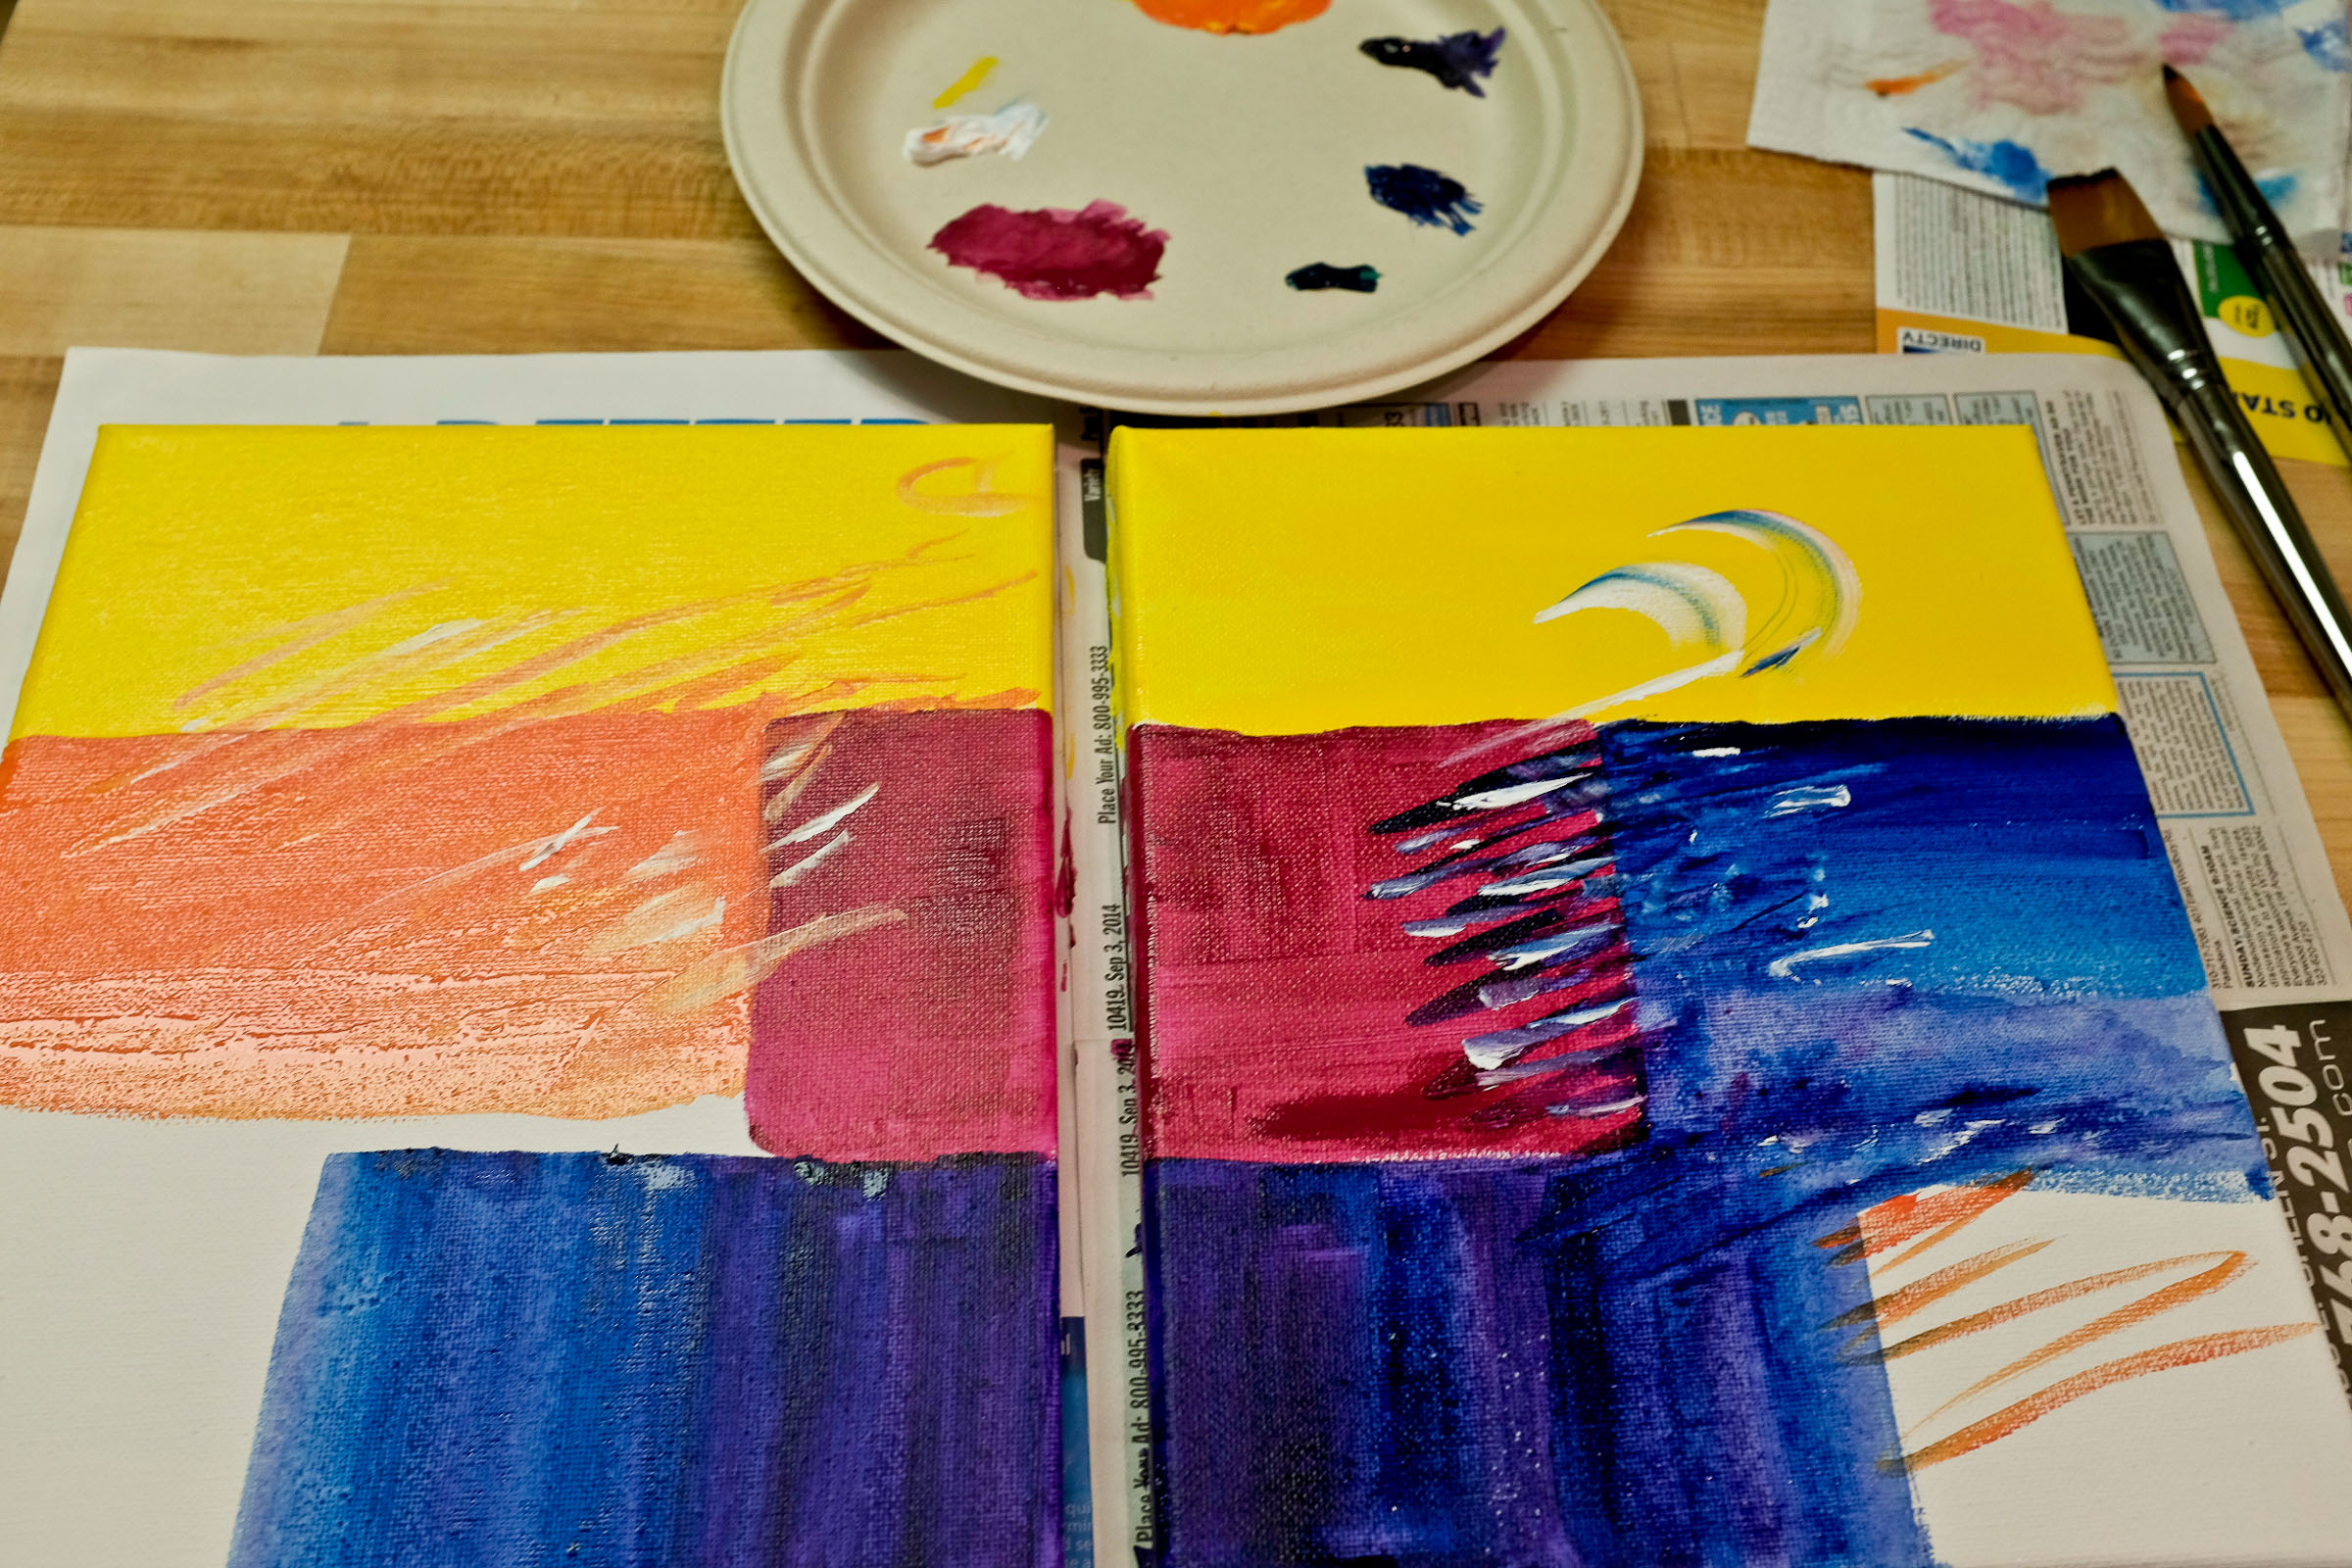
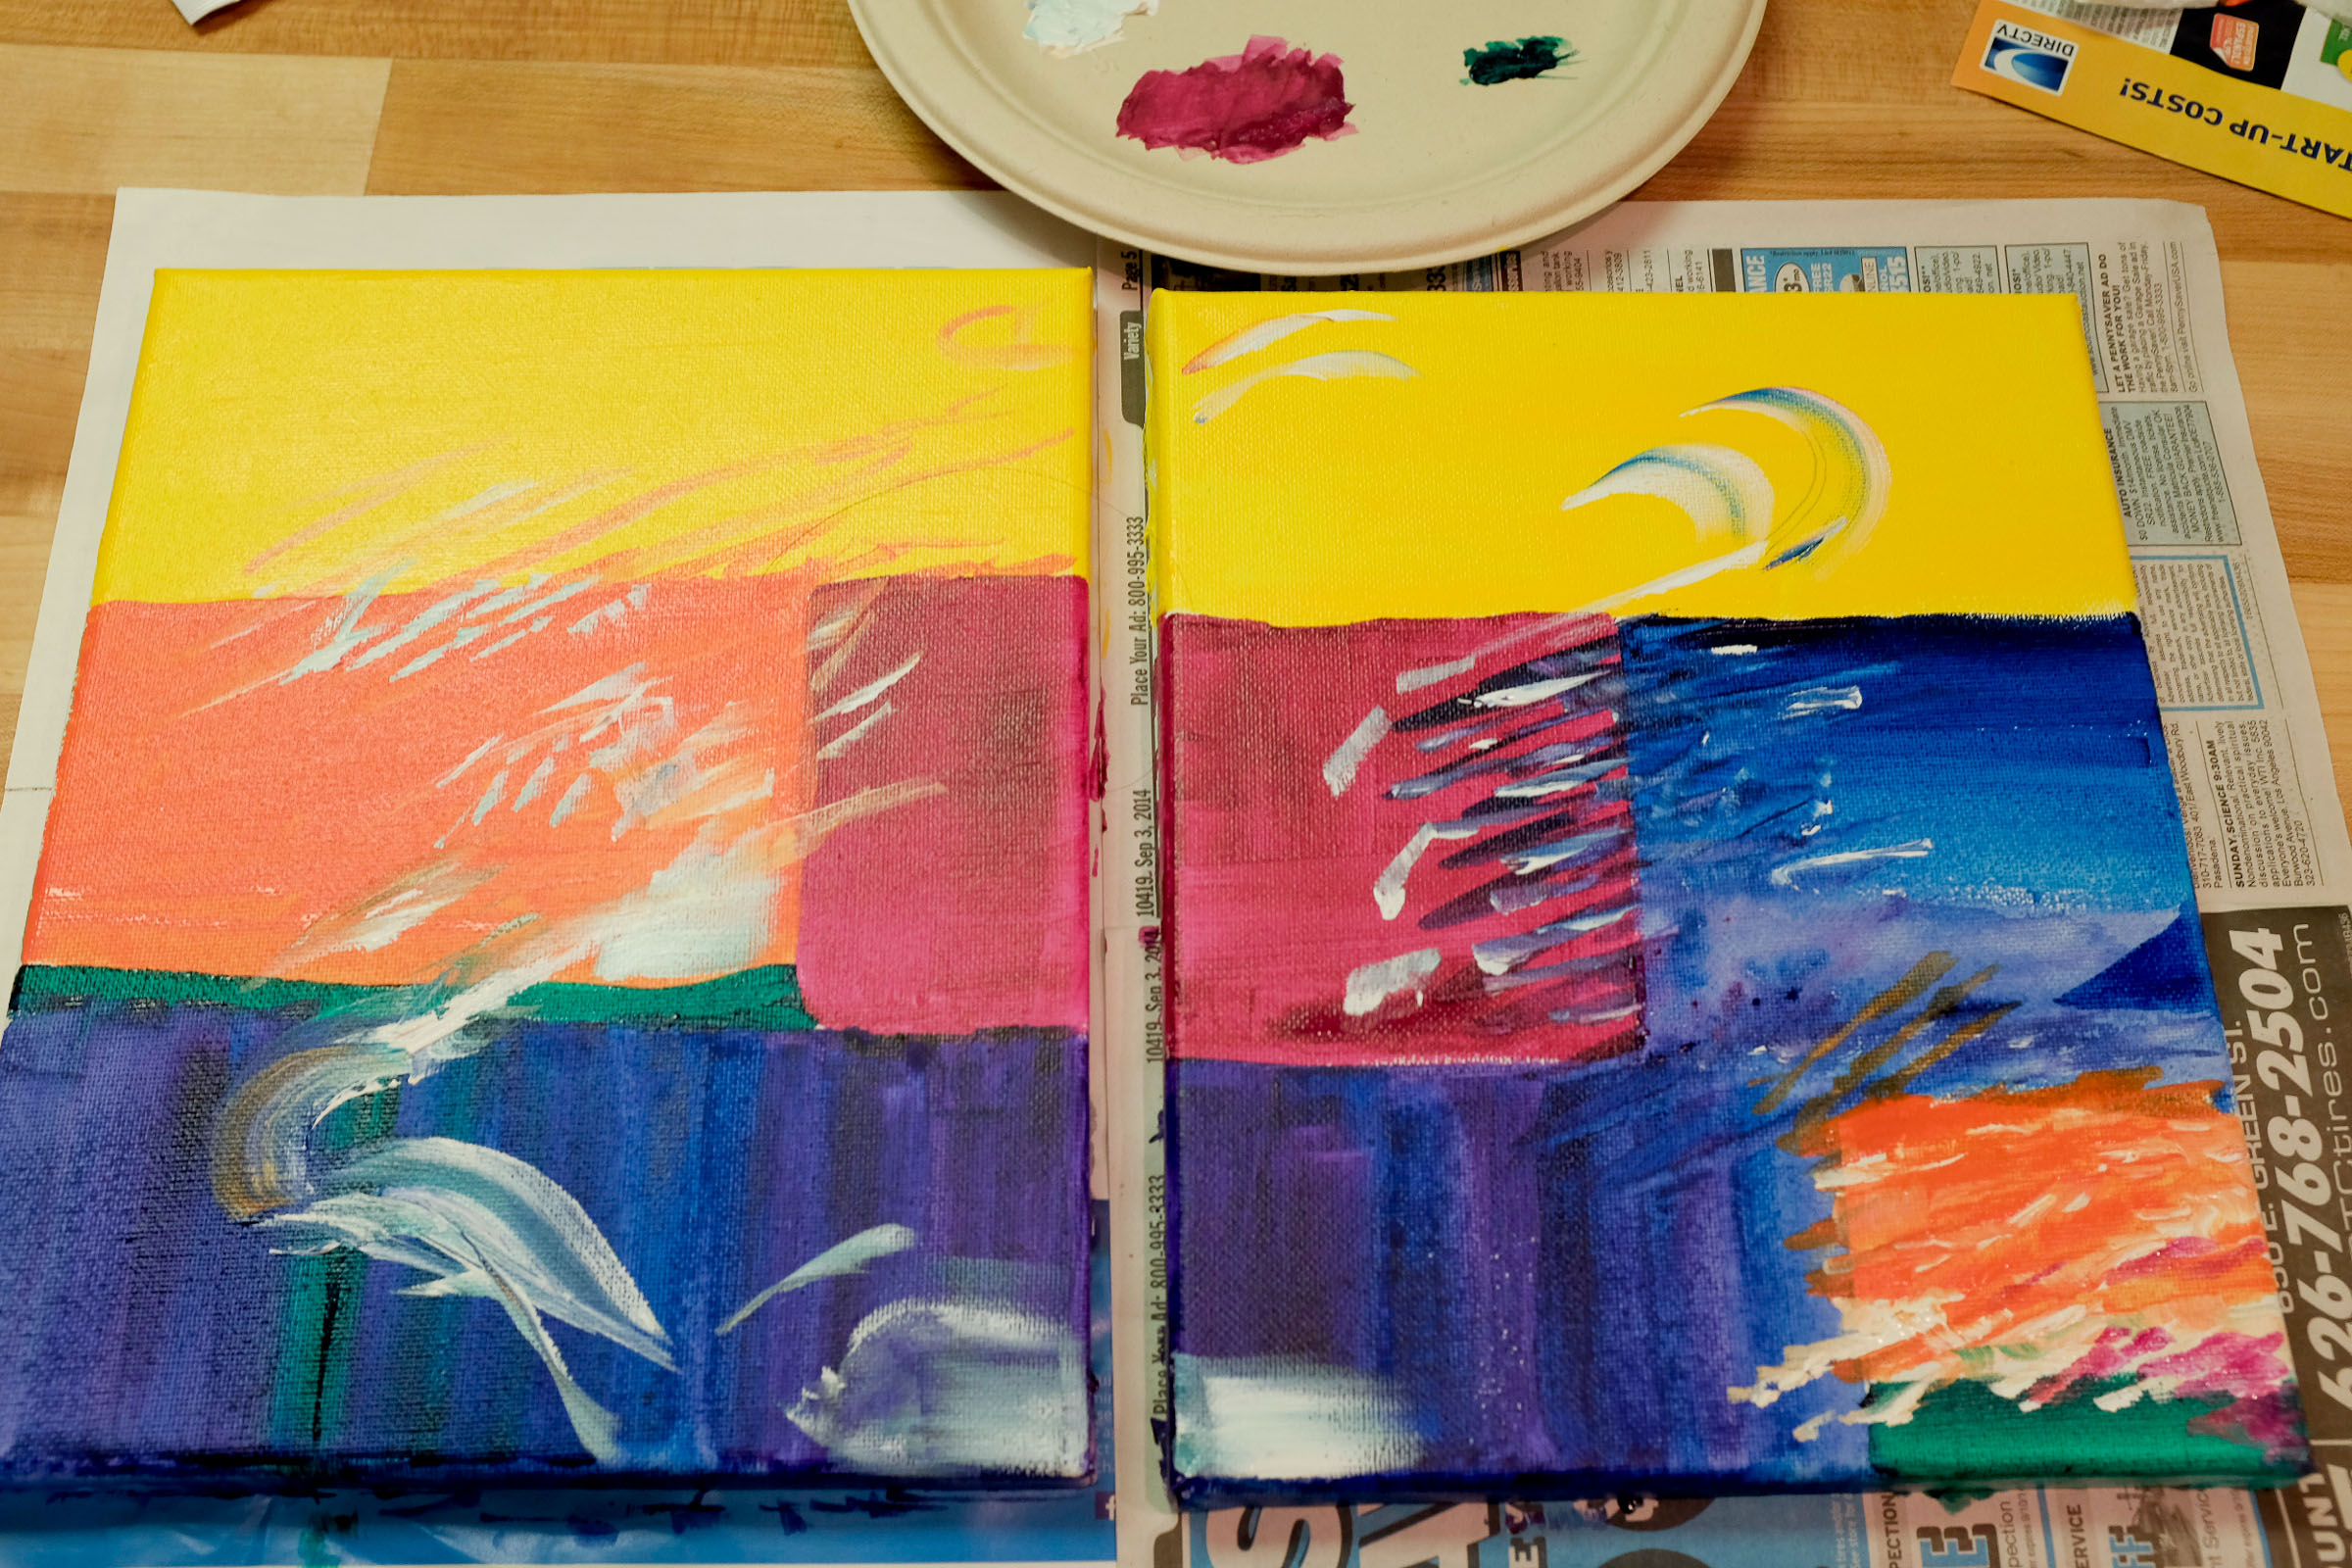
Once you’ve set up your work station, start with the big brush and make bold strokes across both canvases. If you want the paintings to look connected, be sure to create shapes that are continuous from one to the other.
Acrylic paint is incredibly forgiving. If you don’t like something you painted, just wait for the it to dry and then paint over it. You can also wipe wet paint off the canvas with a paper towel.
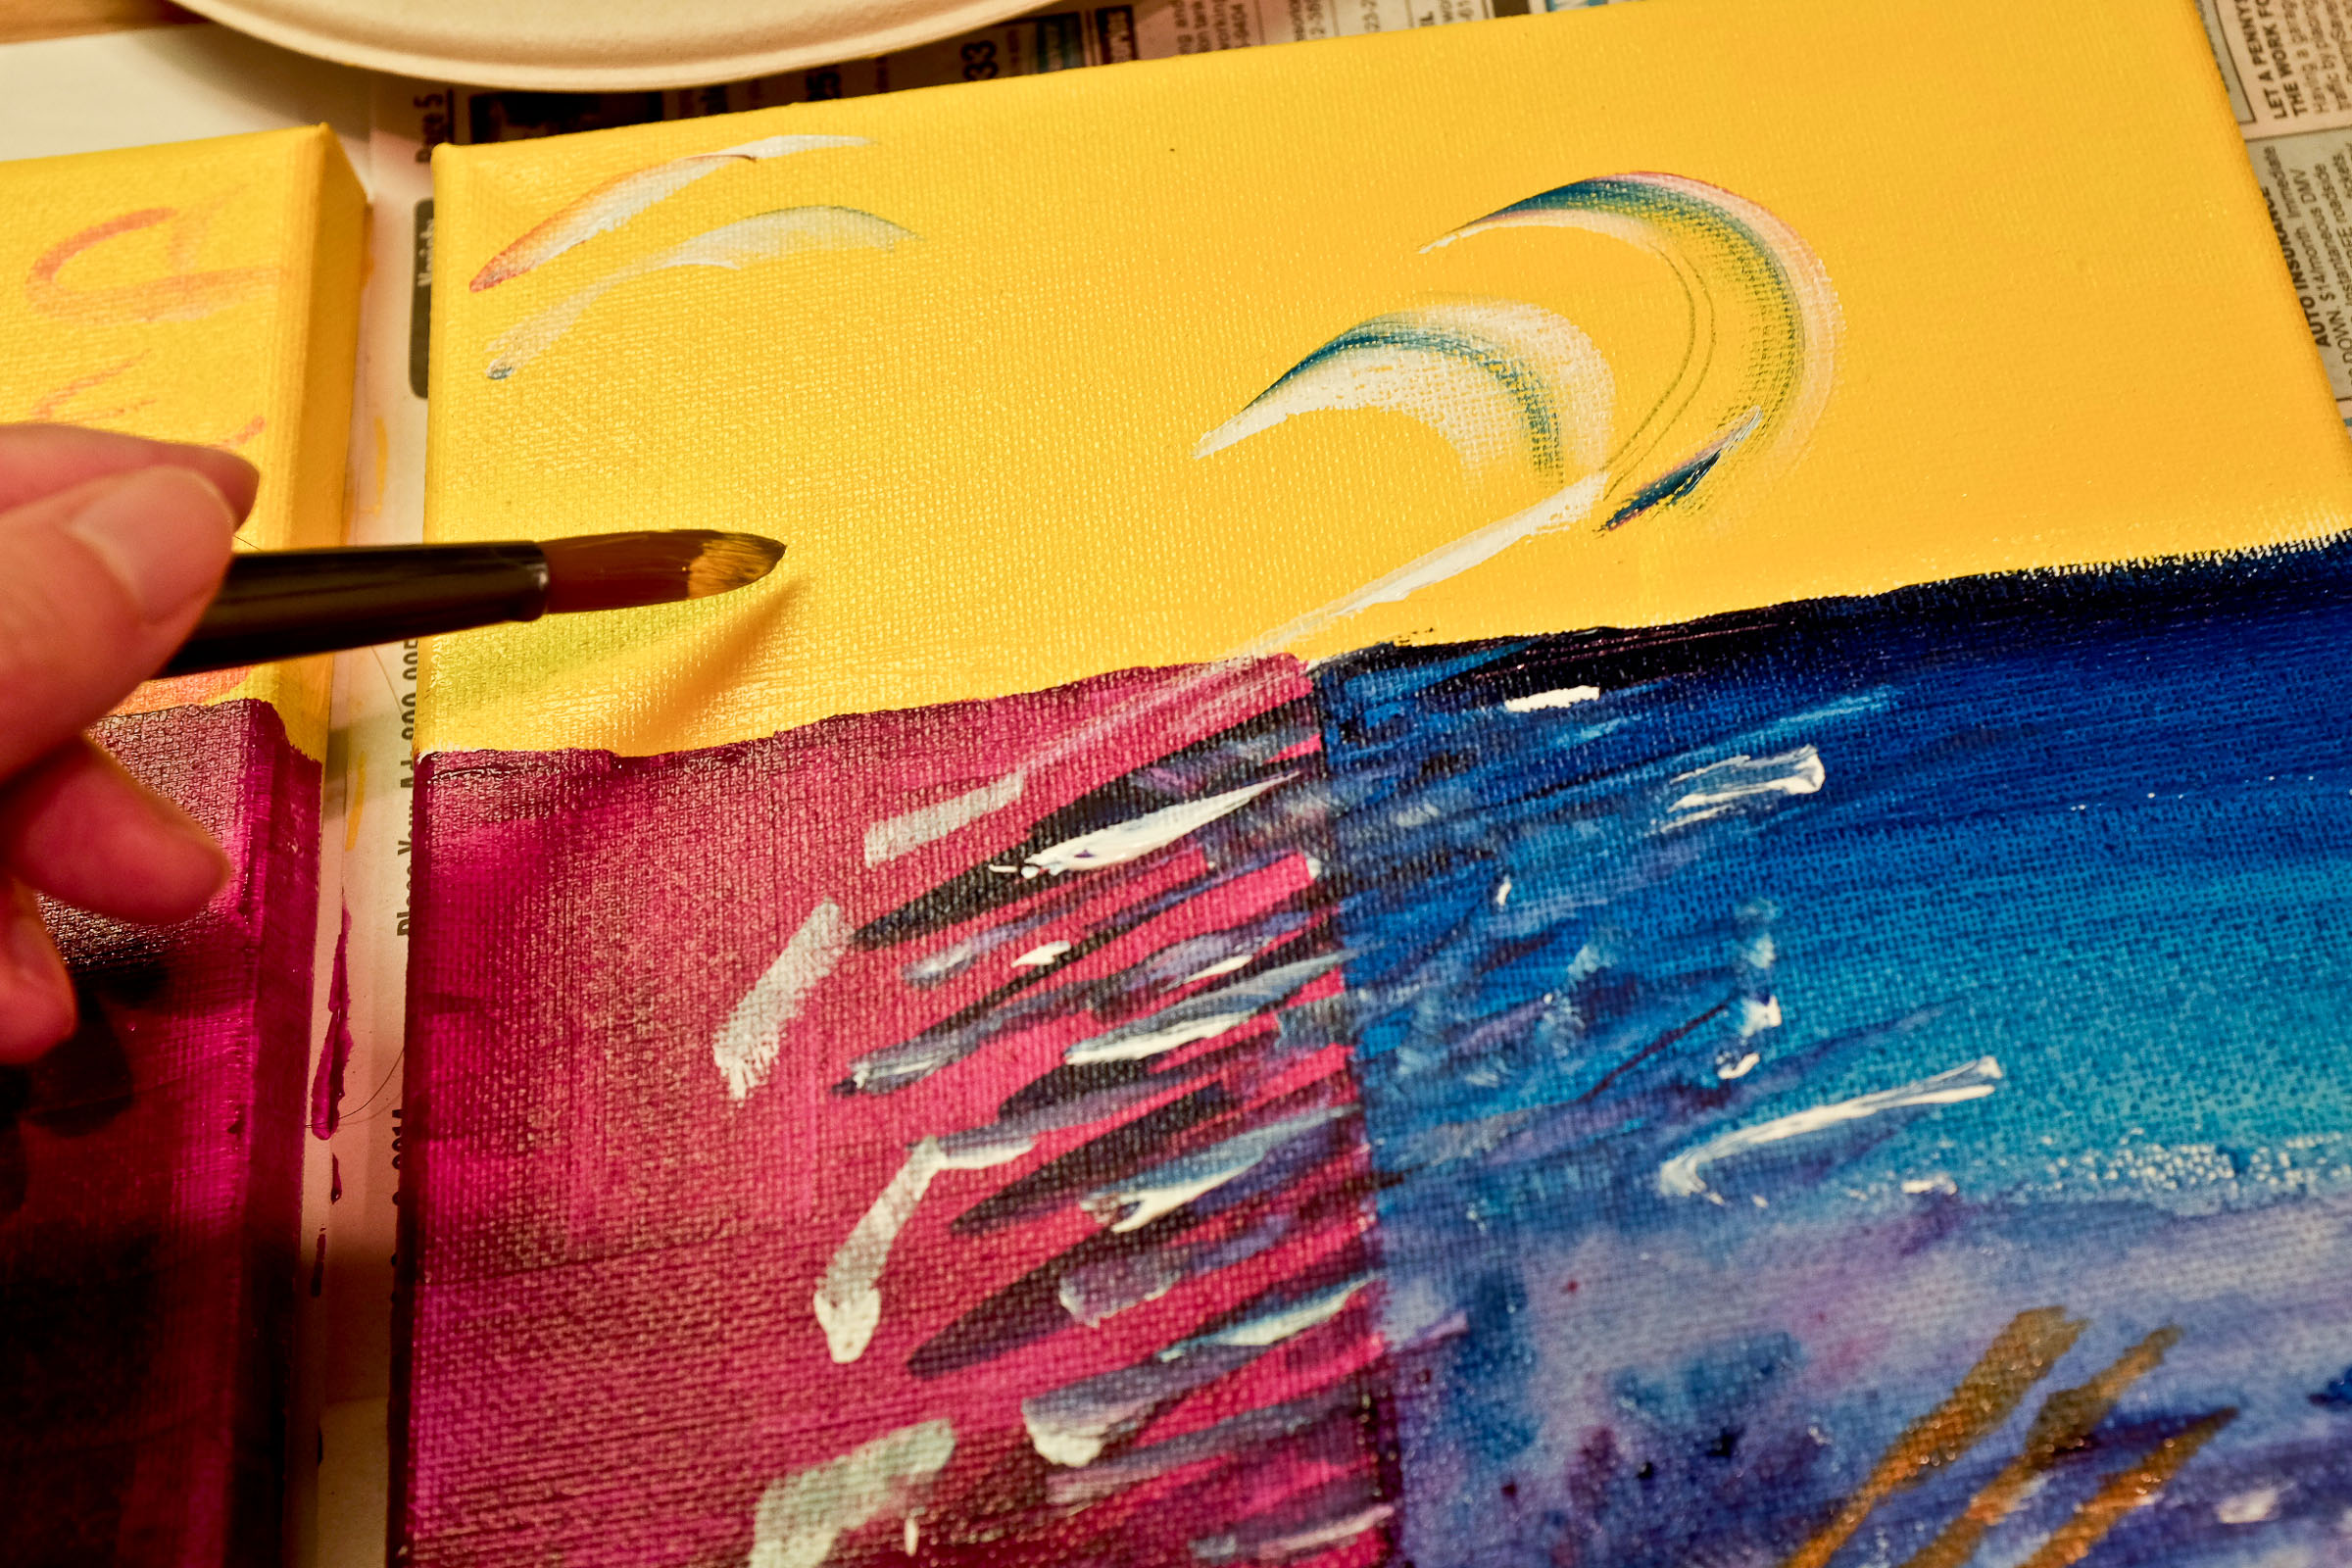
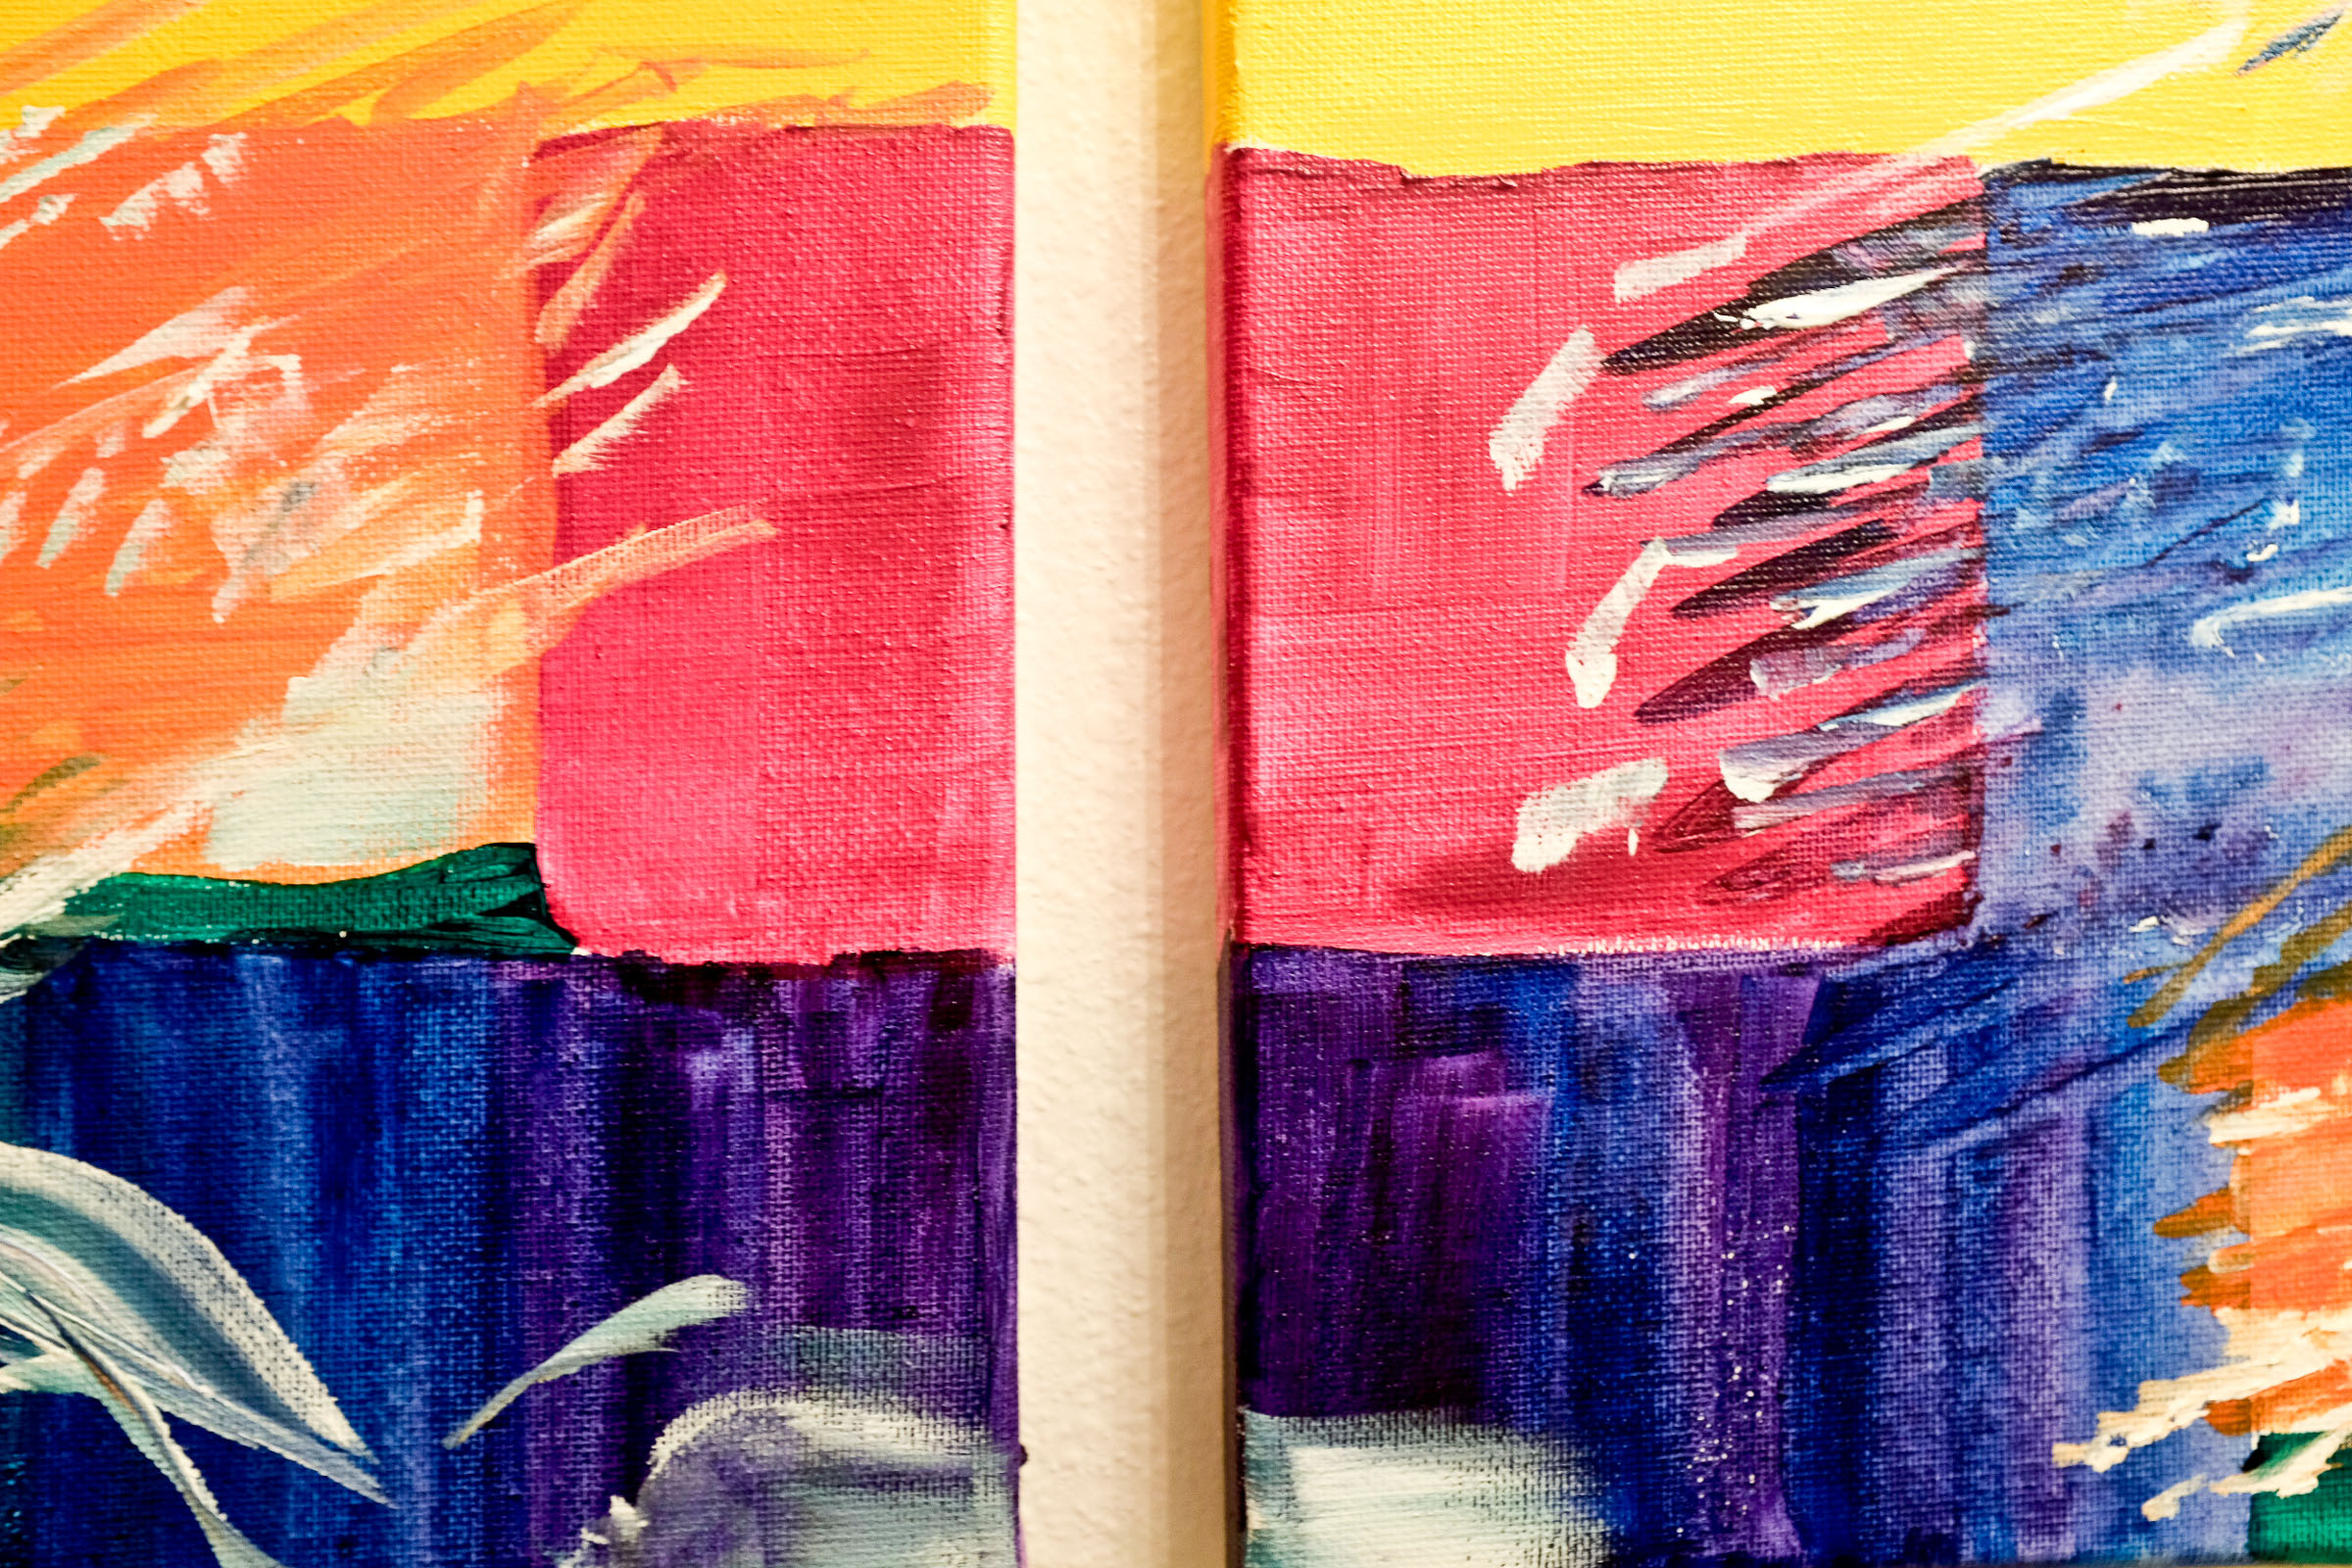
Play with textures by mixing some water into the paint. Make new colors. Slash contrasting colors through the bold strokes you made earlier. Enjoy yourself!
Hang your abstract wall art somewhere in the house that needs a little extra color. When you grow tired of them, paint some new ones and rotate them!

That was quite surprising inspiration. love it!